MeshCube First Start
This guide is intended as a step-by-step guide that allows you to correctly install and configure your your first MeshCube system.
The most common case is the one in which the MeshCube SW installation is managed directly by BlueUp on a local PC.
Together with the software the user will also receive:
- 1 or more TinyGateways
- some Mesh anchors
- some Mesh tags
Note: the number and the model of devices can vary based on your project.
Step 1: Power on the TinyGateway
The power on and the first start of the gateway depends on the chosen TinyGateway model:
- For the TinyGateway WiFi follow the steps described in this guide. The user needs to configure the WiFi connection and reboot the gateway.
- For the TinyGateway PoE follow the steps described in this guide.
- For the TinyGateway LTE follow the steps described in this guide. The user needs to configure the LTE connection parameters and configure the WiFi Access Point.
Step 2: Mesh gateway setup
Once that the gateway is correctly connected to the network, it is necessary to connect the gateway to your MeshCube.
-
Login the MeshCube web interface using default password blueup.
-
Go to the section Gateways.
At the first start no gateway is connected to the system.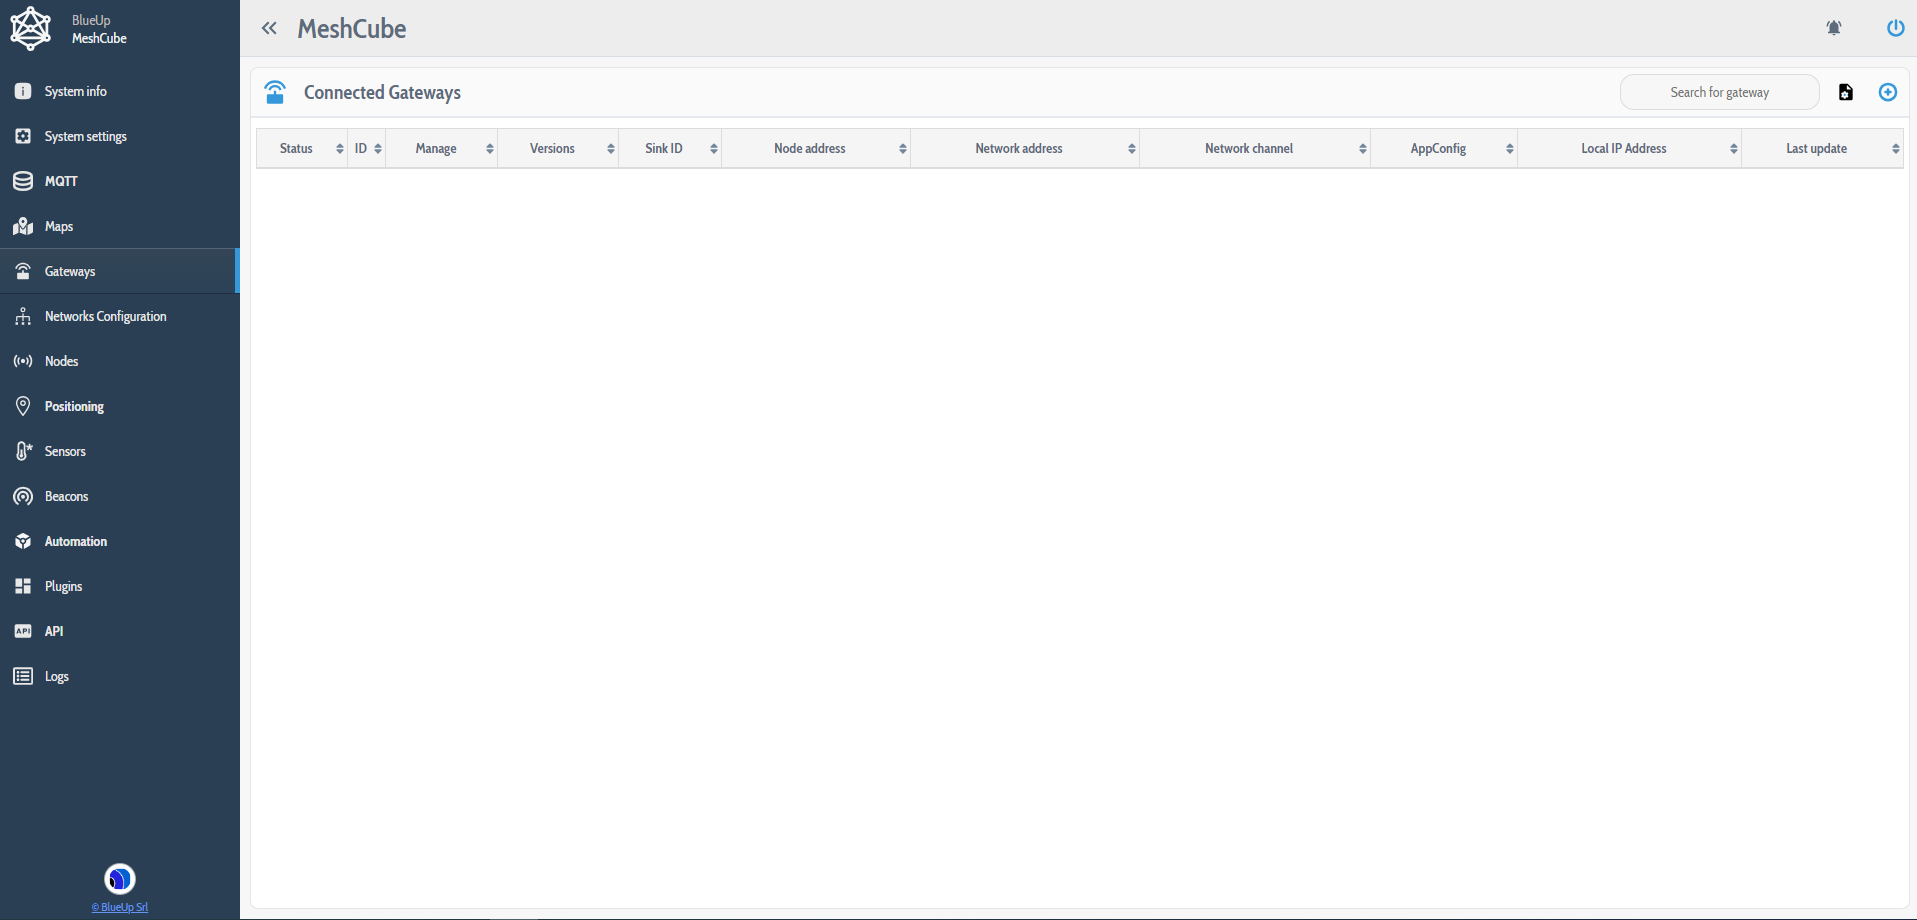
-
Press
 to search and connect the gateway to the system. Press on
  button of the coresponding gateway to connect it to the system.

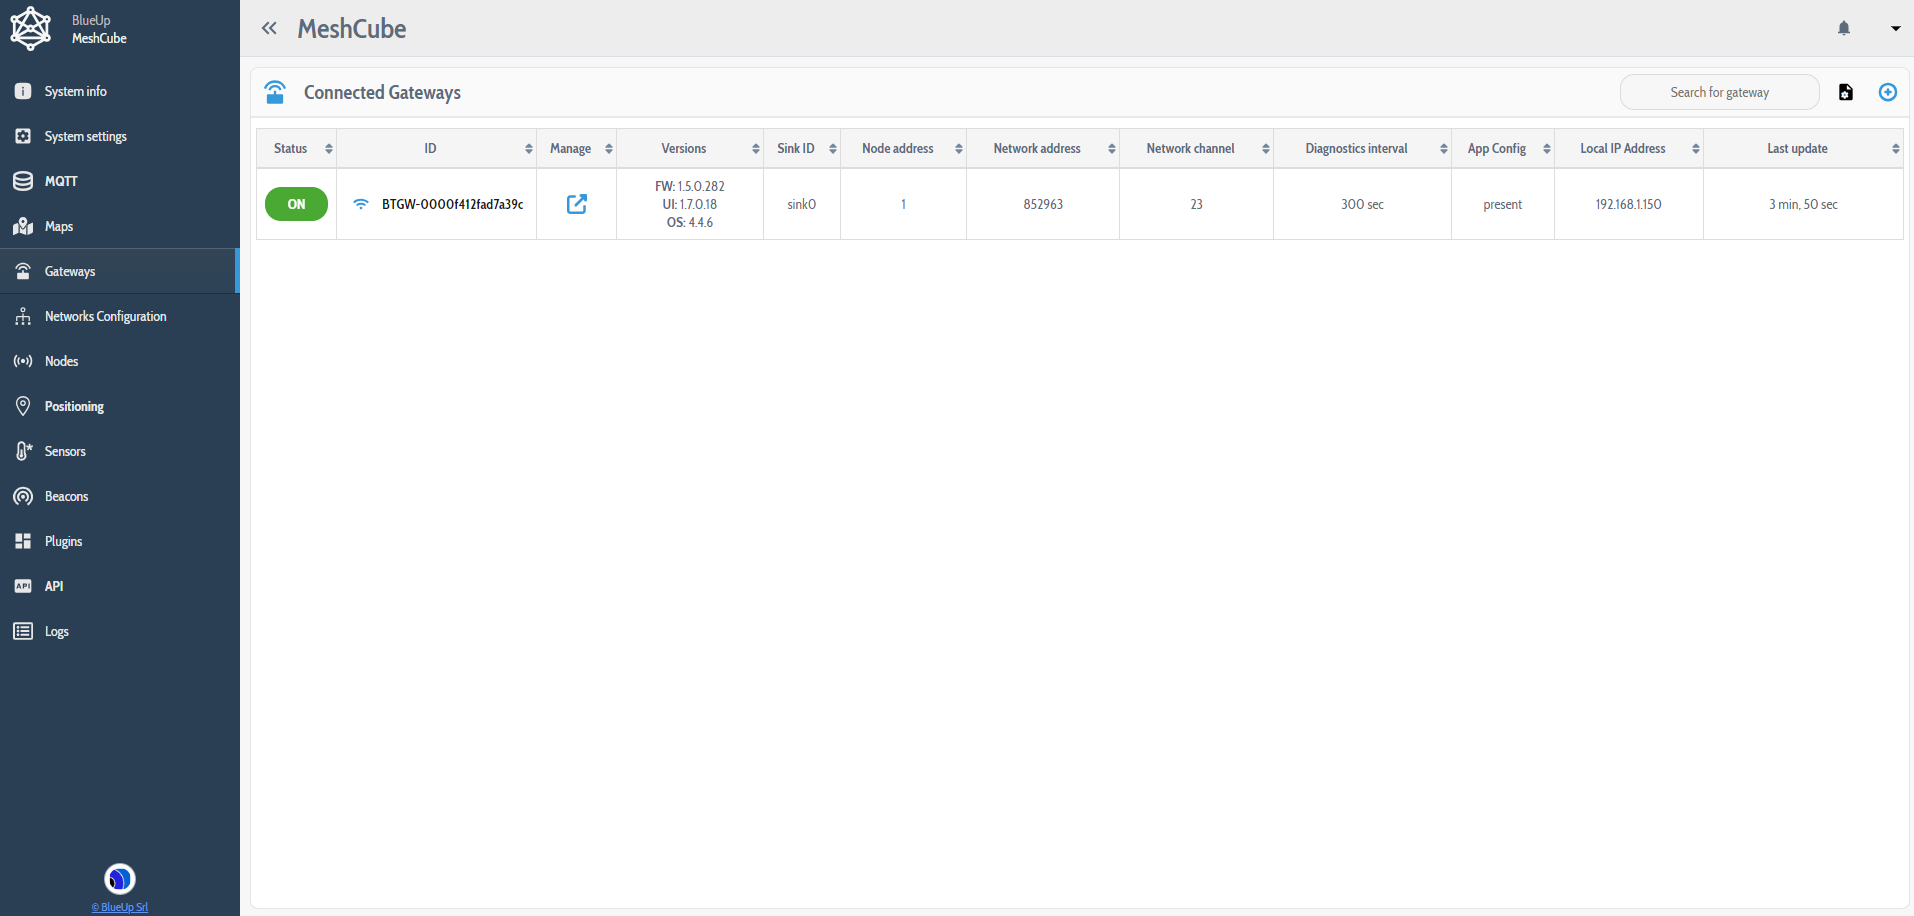
The Gateway is now listed in the Gateways section and starts communicating with MeshCube software.
In case the gateway and MeshCube are not in the same network, please follow the connection steps described here.
Step 3: Mesh anchors installation and setup
The next step is the installation and configuration of the Mesh Anchors for the positioning system.
-
Verify that in Nodes -> Router Nodes section are displayed all the anchors that you have received. It may take some minutes to visualize all the devices.

-
Install the Mesh Anchors in the place where the system will be used. For Mesh Anchor installation tips refer to the following guide.
-
In the Maps menu, click on
in the top-right corner to create a new map.
Upload the file containing the map. When uploading the map, you will be requested to specify the scale of the map (in pixels/mt). The accuracy of this value is required for maximum accuracy of the localization.

-
Select Place Sink/Routers on the map in Actions menu, select the Router to place on the map and place it on the map accurately respecting the real anchors position.

Step 4: Mesh tags setup
Mesh Tags are shipped with an Ultra-Low-Power Configuration to avoid useless battery consumption during transportation and storage. For this reason, Mesh Tags are not immediately active and require a preliminary configuration.
The following steps describe the process for configuration and setup of the Mesh Tags.
-
The configuration can be set from the MeshCube web interface, from Networks Configuration section. Network configuration includes both Mesh Anchors and Mesh Tags.
Mesh Tags can be of one of two types: Asset Tag (tags suitable for positioning and tracking of assets) or Personal Tag (tags suitable for positioning and tracking of people). The default device Classes are defined as follows:- F9 - default Anchor class
- FA - default Asset Tag class
- FB - default Personal Tag class
- Other node classes can be defined. Refer to MeshCube User guide for more information.

-
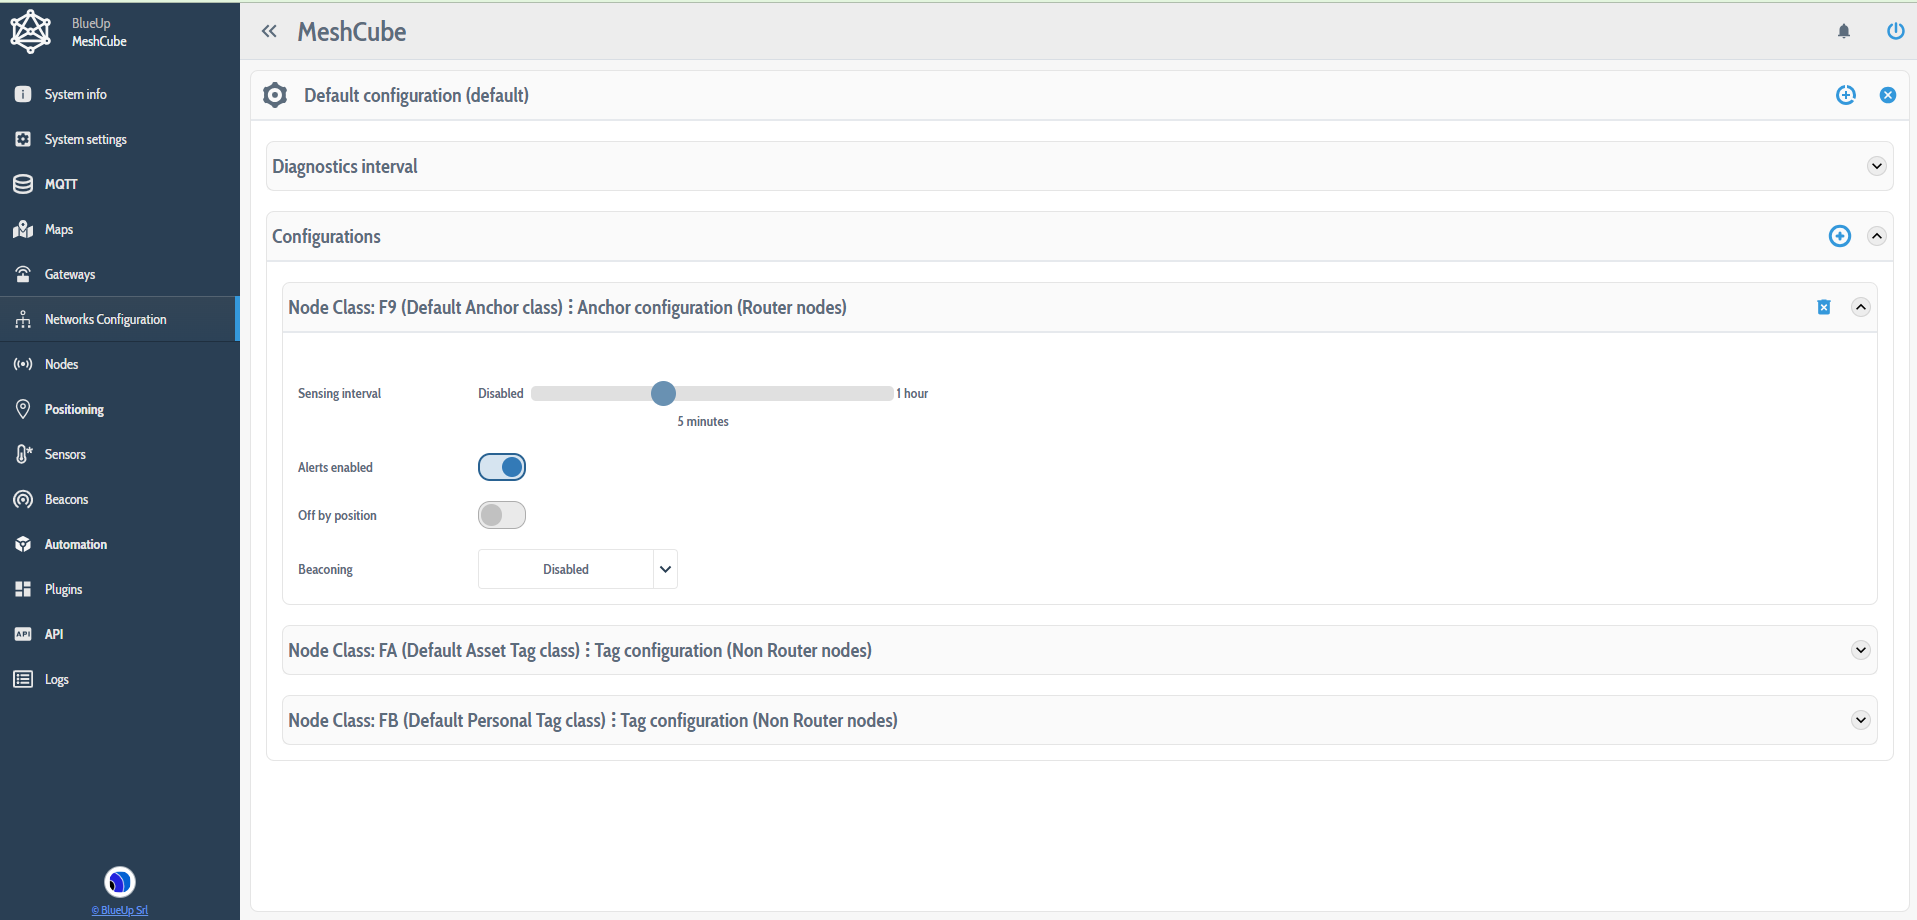
Edit
 the Default Configuration to set a properly working configuration. In the following is summarized a suggested default configuration, but the user can change it, based on the needs.
| Router node configuration | |
|---|---|
| Sensing interval | 5 min |
| Alerts enable | On |
| Off by position | Off |
| Beaconing | Disabled |
| Non router node configuration (same for both Asset and Personal tags) | |
|---|---|
| Default positioning interval | 120 s |
| Default timeout | 600 s |
| Default autoscan | Off |
| Motion positioning interval | 30 s |
| Motion timeout | 60 s |
| Motion autoscan | Off |
| Alarm positioning interval | 15 s |
| Alarm timeout | 60 s |
| Alarm autoscan | Off |
| Sleep positioning interval | 3600 s |
| Sleep autoscan | On |
| Button enabled | On |
| Alerts enabled | On |
| Accelerometer enabled | On |
| Motion threshold | 160 mG |
| Motion duration | 3 s |
| Advanced accelerometer | Disabled |
| Beaconing | Disabled |
 3. Save
  the configuration and apply
  the configuration to the nodes of the network.
 4. When Mesh Tags are in Ultra-Low-Power Configuration (first time you receive them) you need to wake them up in order to forward the configuration command. The wakeup procedure varies based on the presence or not of a button on the device:
| Mesh Tags without button | shake the tag |
| Mesh Tags with button | press the button |
In Maps now it is possible to monitor the position of the non router nodes (Tags), evaluated based on the signal strength between tags and anchors.
